
Installing an Impact Screen on Your Custom-Built Frame
A quality impact screen is essential to any home golf simulator setup, providing a crisp, clear image while absorbing the force of your shots. At SimSpace Golf, we offer a range of impact screens, including Elite, Double-Sided, and Platinum grades, catering to different preferences and budgets. We also supply a sound-damping noise-absorbing screen, designed to reduce impact noise and vibrations. With ten different sizes available, there’s a suitable option for almost any space.
Building a Sturdy Custom Frame
A strong and well-designed custom frame is crucial to ensure the longevity and effectiveness of your impact screen. The frame should be robust enough to handle repeated ball strikes and allow for a minimum of 30cm of space behind the screen to absorb the impact properly. This setup reduces bounce-back and increases safety.
If constructing a custom frame isn’t for you, SimSpace Golf also provides fully built golf enclosures and practice nets integrated with impact screens, offering convenient solutions for any indoor or garage setup.
Step-by-Step Installation Guide
1. Unpack and Prepare Your Screen
Once your impact screen arrives, carefully open the package and lay the screen out in a clean, dry area. This allows it to settle and any folds from the packaging to relax before installation.


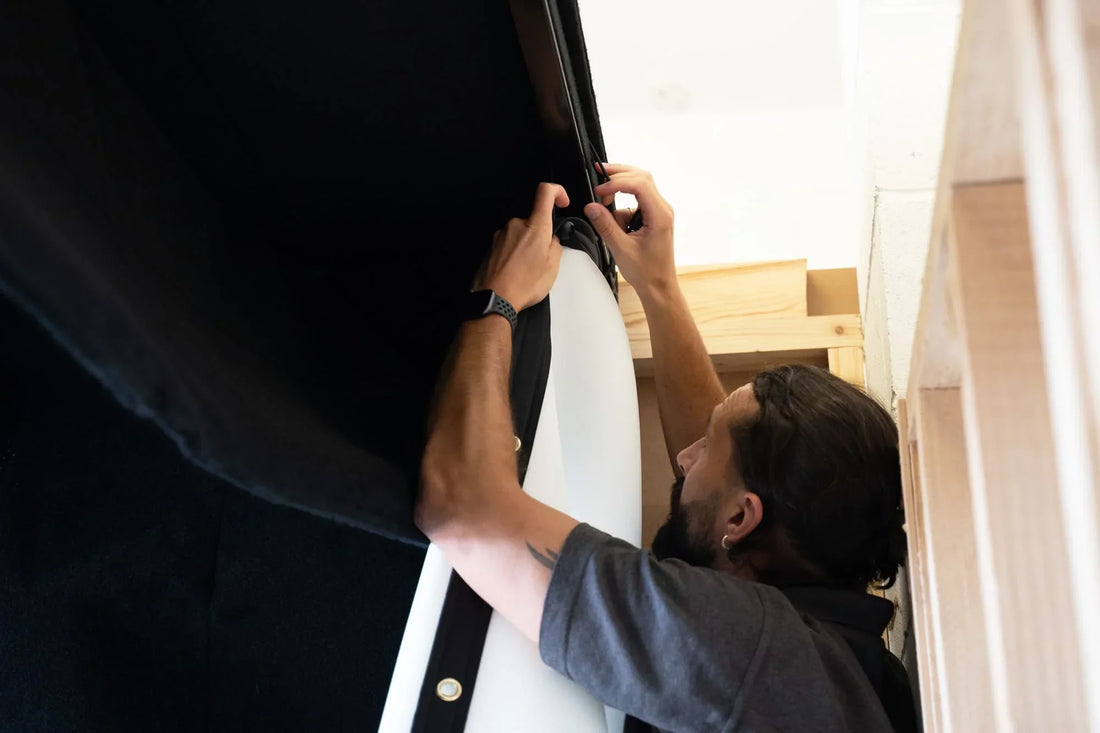
2. Attach the Screen to Your Frame
Using the built-in eyelets, secure the impact screen to your custom-built frame with bungee cords (available as an additional purchase). Ensure even tension across all sides to prevent sagging and create a smooth surface for projection.


3. Adjust and Remove Creases
Once attached, inspect the screen and make necessary adjustments to achieve a tight, even fit. If creases remain, a handheld steamer can gently smooth them out, improving the visual clarity of projected images.


4. Set Up and Start Playing
With the screen securely in place, add your hitting mat, turn on your launch monitor, and get ready to enjoy a realistic golfing experience from the comfort of your own space.


Additional Products from SimSpace Golf
Beyond impact screens, we supply a wide range of products to help you create the ideal indoor golf setup. Our selection includes complete golf enclosures, practice nets, premium hitting mats, advanced launch monitors, and a variety of accessories. Whether you’re setting up a home simulator or a professional practice space, we have everything needed to bring your vision to life.
For more information on our impact screens, custom frames, and full golf enclosures, visit our shop here!


